When you’re just starting out with photography, it might be difficult to decide what gear to get. Lenses and camera’s can be very expensive, and I personally found it a bit too big of a risk to invest in expensive equipment so early on. While I’m no expert on the subject of photography gear, I can of course share my findings about what I found/find useful gear as a beginner. Perhaps they might be helpful to some 🙂
I have to warn you though, because of familiarity and convenience I have only used Canon equipment so far. Of course, there are other perfectly suitable brands out there, but unfortunately I don’t have any first hand experiences with them. I’m pretty sure these brands will have their own versions of the lenses I’m using though, so the general takeaway from this article would remain the same for everyone.
In the beginning…
When I started with photography, I was lucky enough to be able to use my mother’s camera, the Canon 400D, also known as the Digital Rebel XTi. The camera was made in 2006, and it has a cropped sensor. If you don’t know what that means, don’t worry! Most consumer DSLR’s have cropped sensors. In a nutshell, cropped sensors are smaller than the full frame sensors that can be found in more expensive, professional cameras. This results in them capturing a smaller area than a full frame sensor when taking a photo. Full frame sensors have better low light performance, and allow for shallower depth of field, but they are very costly compared to a cropped sensor camera, so as a beginner you would in my opinion be better off saving your money by buying a cropped sensor camera. This article by SLR-Lounge provides a more in-depth explanation of (the advantages and disadvantages of) full frame and cropped sensors, should you want to know more.
The Canon 400D I used had a resolution of 10.1 megapixels, an ISO range of 100 to 1600, and 9 auto-focus points. Bundled with it was an 18-55 mm kit lens. This lens has quite a wide angle with its 18 mm (the lower the focal length, the wider the angle) so it’s perfect for shooting wider scenes such as landscapes, or for capturing relatively much of a tiny space. Real estate photos for example tended to be shot with a wide angle lens, to make the property seem optically bigger than it really is.
Since this camera had seen its fair share of usage, I could experiment with it freely without worrying about accidentally damaging it. The first fifteen pictures or so on my Instagram were shot with this camera, but since Instagram compresses uploaded images you probably won’t be able to see a difference between old and new pictures, in terms of quality. If you are planning shooting predominantly for social media, there’s nothing wrong with using a low resolution camera at first, because most social networks apply a sort of image compression similar to Instagram. You couldn’t properly upload a high resolution photo even if you wanted to (and boy, do we want to).
When I just got started with the camera, I didn’t realise that it is not the camera, but the lens that predominantly dictates what your pictures will look like. Once I did however, the ‘gearing up’ process began.
Lenses
My first purchase was a portrait lens, Canon’s ‘nifty-fifty’. This 50 mm lens has a set focal length (also referred to as a ‘prime lens’) which means that it is not able to zoom either in or out. You have to do it the old-fashioned way, by moving yourself to or away from the subject.
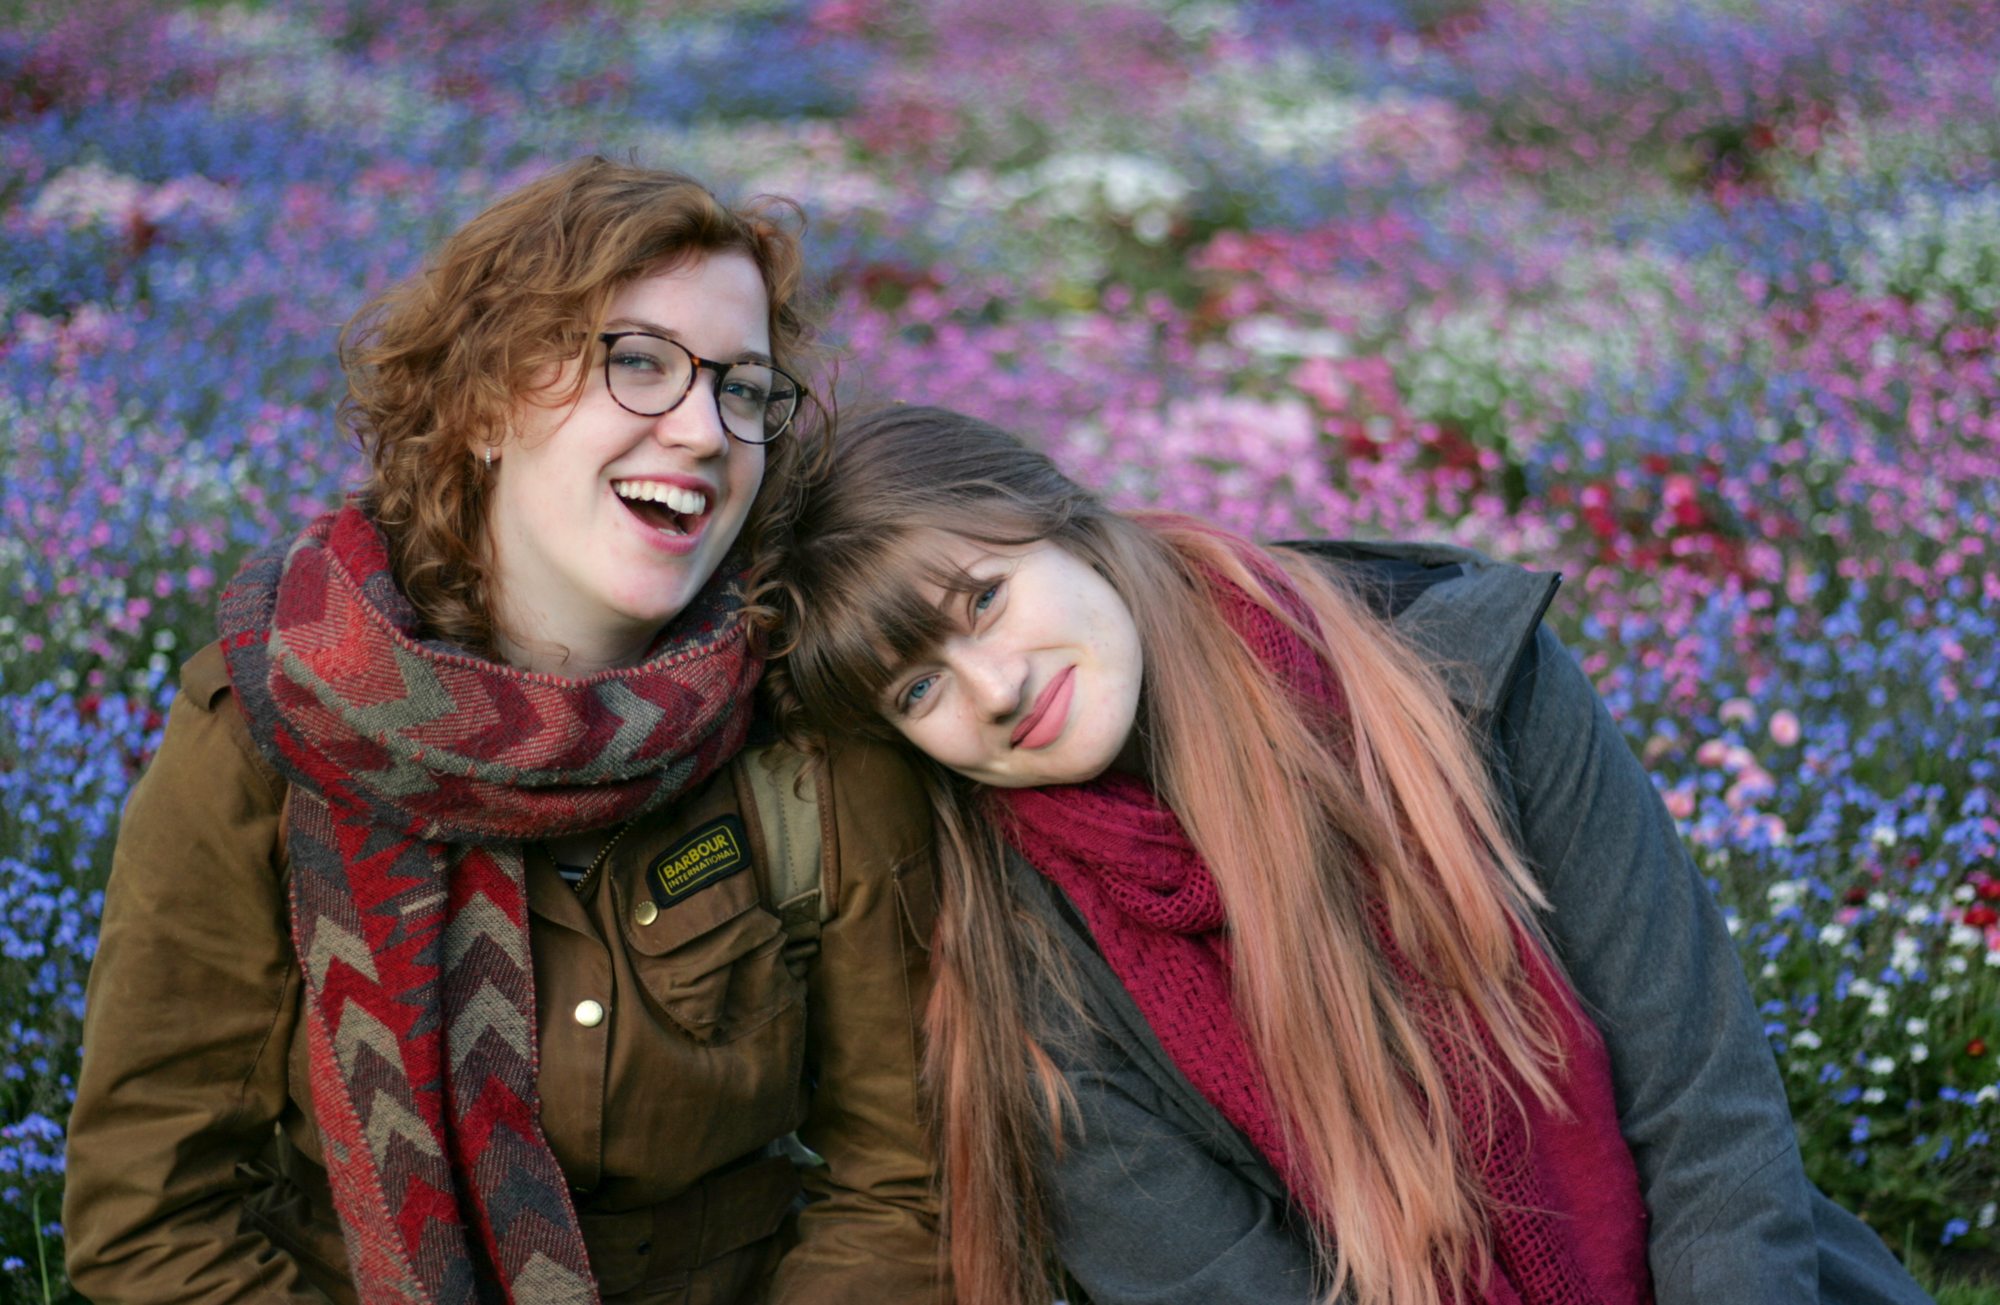
Since lenses tend to be quite expensive, even at the bottom of the price segment, I was a bit hesitant to buy this lens at first, because college student. I have zero regrets about doing so though, what great value for money! (#notsponsored, but Canon if you’re reading this, it could be ;-). Experimenting with the shallow depth of field -also referred to as ‘bokeh’- was a lot of fun, and it makes portraits look a loot better. Your subject will literally be the focus of the image, while the background will be nice and blurry. If you are looking for a new addition to your equipment, or if you are looking to buy your first lens, I would definitely recommend this one. Below is one of the first shots I had taken with the lens. Notice how the background is indeed out of focus, which helps ‘guide’ your eyes towards the subjects in the foreground.

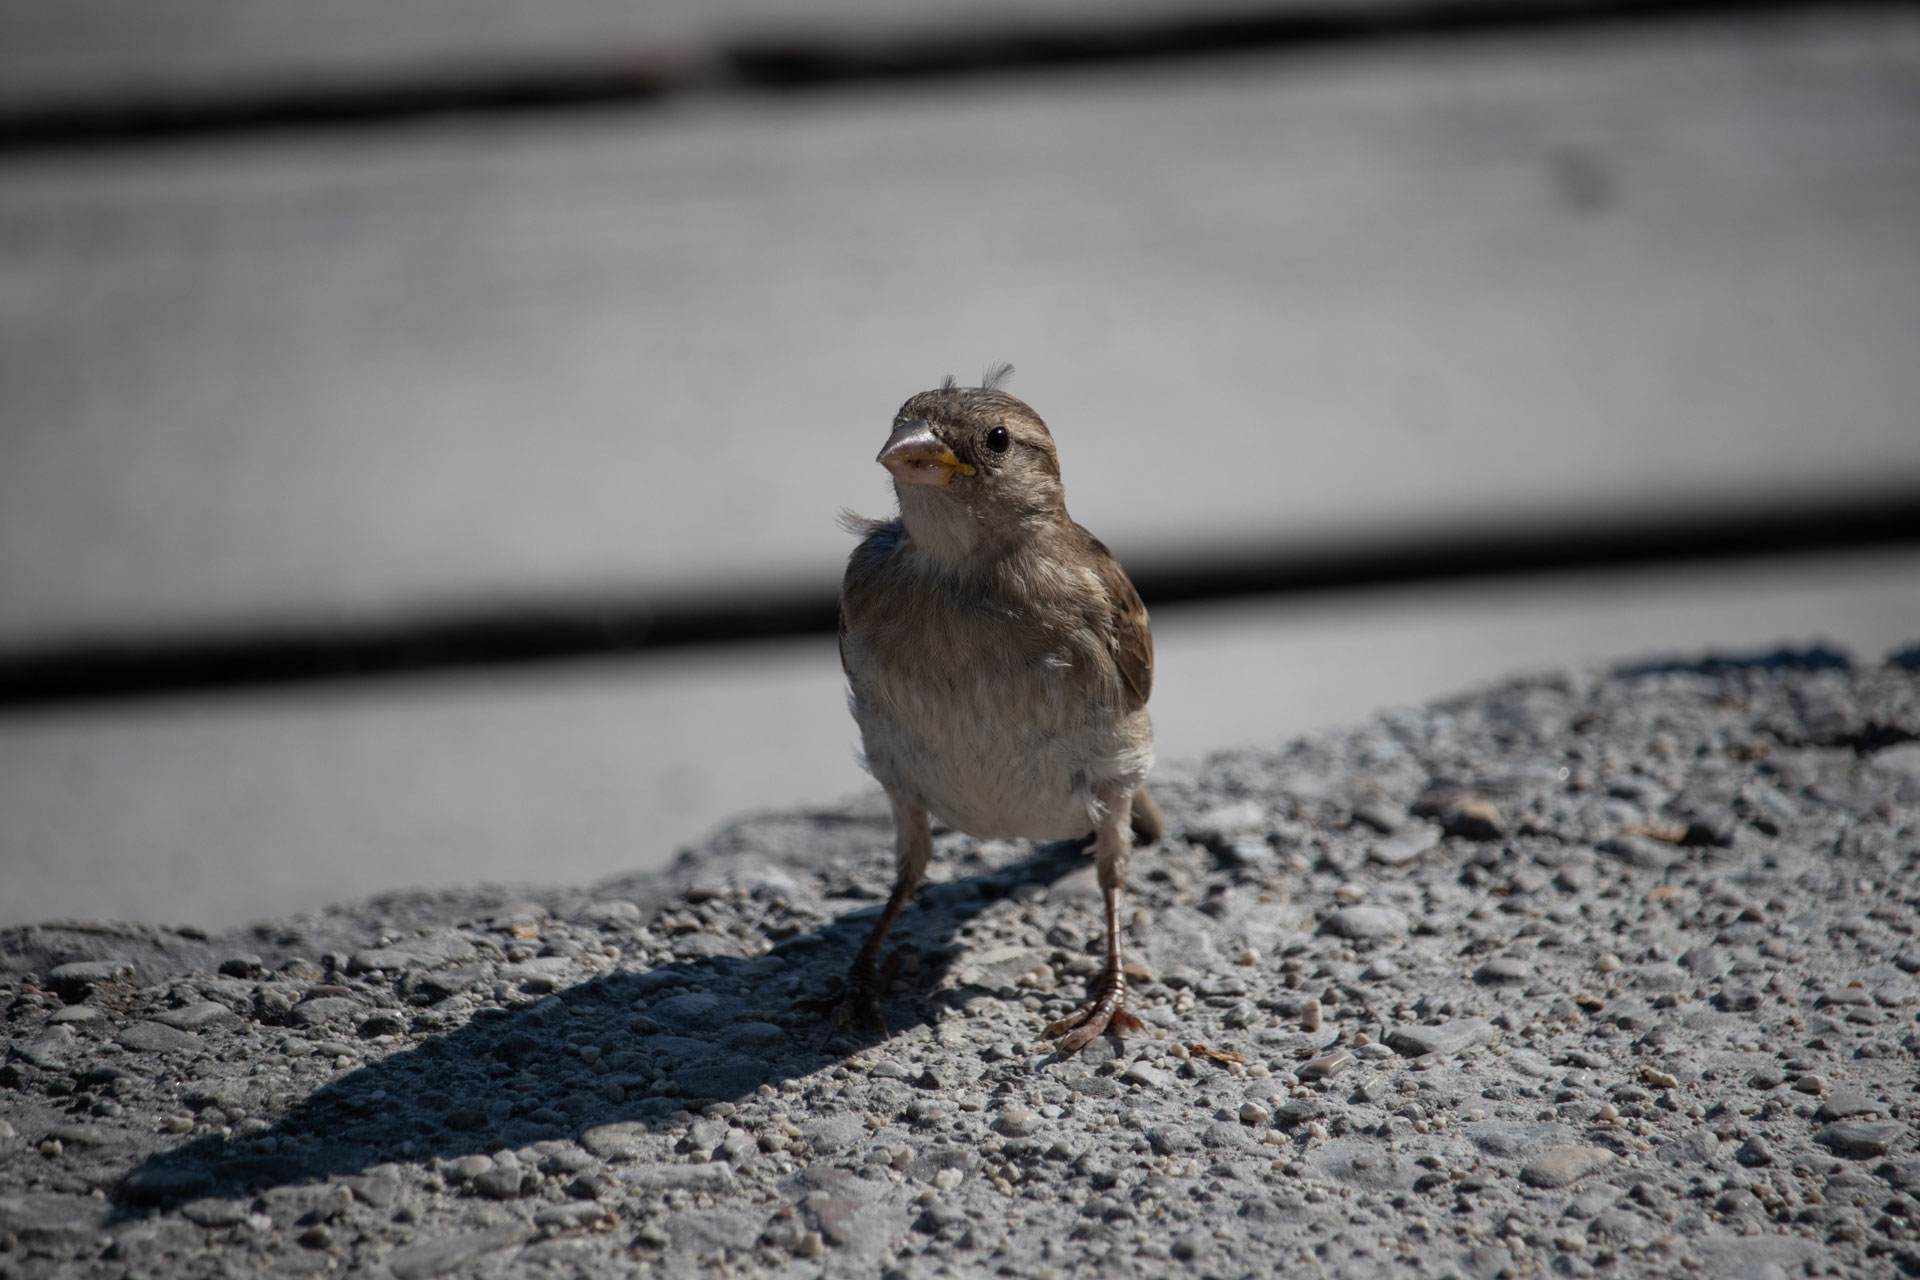
Sometime later, I received a telephoto lens as a birthday gift (thanks mom and dad!), and that’s when the fun really started. Now even distant objects weren’t safe from my shutter. This telephoto lens was one of the cheapest telephoto lenses out there, and for usage during daylight situations it is perfectly suitable. However, it does have its drawbacks of course. In my opinion the most important one is that the lens has a maximum aperture of 4 (when zoomed all the way out, at 55 mm), which means that it doesn’t let of light trough. That makes it almost unusable for low-light situations that require high shutter speeds such as indoor sports, because your image would become too dark. Photographing outdoor sports during the day would is perfectly doable though. Furthermore, the lens suffers from quite a bit of vignetting, as you can see in the picture below.

Based on my own experience, I would considers this telephoto lens to be a great one for beginners to start off with. The maximum zoom of 250 mm allows for quite a bit of magnification -more than enough for casual usage-, and the vignetting can easily be reduced during post-processing. The lens is also fairly light weight, and it features image stabilisation. This is really useful, because at longer focal lengths such as 200 mm any shaking will have be more pronounced than at short focal lengths.
While the pictures with the 400D and my collection of now three lenses generally looked okay-ish, I did have a bit of problem with subjects being a bit out of focus. As it turns out, there was a slight miscommunication between the camera and the lens about when a subject was in focus, which resulted in said focus being slightly off. Since the 400D didn’t have an option for lens calibration, which allows you to make tiny adjustments per lens as to when the camera will regard something as being ‘in focus’, there sadly was no way of fixing the problem without sending the camera off to Canon.
So, there it was. The perfect excuse to get a new, fancy, up-to-date camera. At this point I wasn’t certain whether I could justify buying a new one, because, well, as you know, they are rather expensive. Especially when you’re on a student’s budget. But long story very, very short, I got it. A Canon 80D.
And boy, was it a great decision. Not only did it increase the quality of the pictures (no more out of focus subjects, hooray!), the camera contained a lot of features that the 400D did not. For me these features made taking photos more fun, but if you are looking to buy your first camera I would not worry about getting a camera that has a lot of gimmicks. A lot of entry level DSLRs are perfectly fine for casual use, and for learning the basics. And espcially if your photos will be only be shared online, I wouldn’t worry too much about the resolution. Of course it’s nice to have more MPs, but it’s not a necessity. What I do consider to be necessity though is to be able to calibrate the lenses. There’s nothing more frustrating that having images that never completely in focus. There are lot of great articles online that go in-depth about what camera’s are suitable for beginners, so a quick Google search should go a long way.
As for the camera’s memory, I would say it is definitely worth it to invest in a large memory card (128 GB +). They are not that expensive online (between about 25 and 50 Euros for a 128 GB card). Eventually you are going to shoot in RAW-format, and those files will be a lot bigger than your average JPG. If you don’t want to clean up your memory card after a day of shooting, making sure you are getting one with a large capacity. Of course, the speed of the card also has to be taken into account.The higher the write-speed of the card, the better, especially when shooting in burst mode. If you choose a class 10 card, you should be in the save zone.
In short
Right now, I use a kit lens (18-55 mm) that has a slight wide angle, a portrait lens (50 mm with great depth of field) and a telephoto lens (55-250 mm). All three of those lenses are cheap compared to most. Drawback: they are hard to use in low-light. The 50 mm is suitable for low-light settings, but it doesn’t have the ability to zoom.
While they are not perfect, I would recommend these lenses to any beginner. They are perfectly fine for experimenting and learning, cover quite a wide range of focal lengths and apertures and I found their performance to suit my needs.
Oh, and getting a large capacity SD card makes life easier.